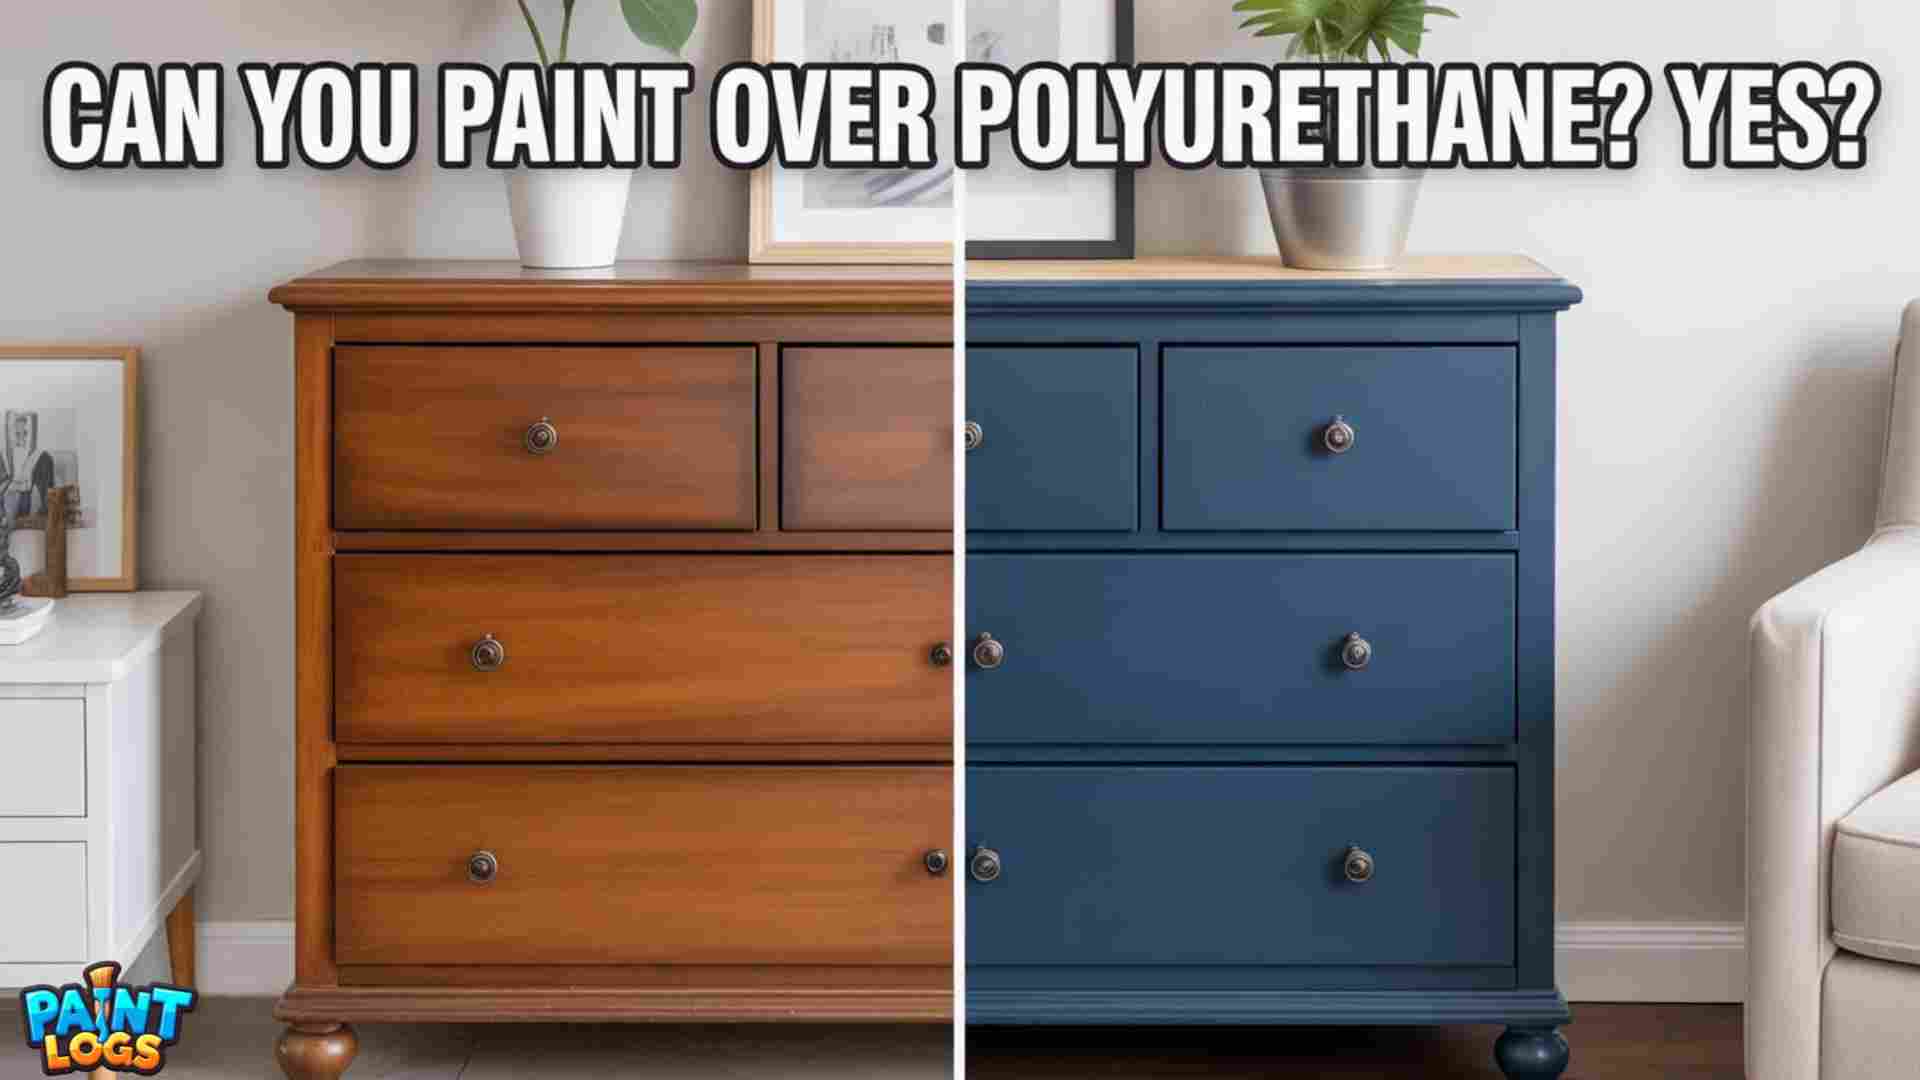
Can You Paint Over Polyurethane? Yes, you can paint over polyurethane — but only if you prepare the surface the right way. Polyurethane is a tough, glossy sealer that protects wood. That same durability makes it tricky for new paint to stick. If you try painting polyurethane without sanding or priming, your fresh coat will peel, scratch, or flake in no time.
The good news? With proper prep, you can give polyurethane-coated wood, cabinets, or furniture a brand-new look. This guide explains how to paint over polyurethane in detail, which paints and primers to use, common mistakes to avoid, and answers to the most-asked questions.
Why People Want to Paint Over Polyurethane
Polyurethane is commonly used on hardwood floors, cabinets, trim, and furniture. It creates a shiny, protective barrier that resists moisture and wear. Over time, though, you may want a new look.
- You might want to update kitchen cabinets from a glossy wood tone to a modern color.
- You may want to refresh furniture like tables or dressers without stripping them completely.
- Or you may be refinishing trim or doors that already have a polyurethane varnish.
Painting polyurethane saves time compared to sanding everything down to bare wood. You don’t have to remove the finish entirely — you just need to prepare it correctly so paint can bond.
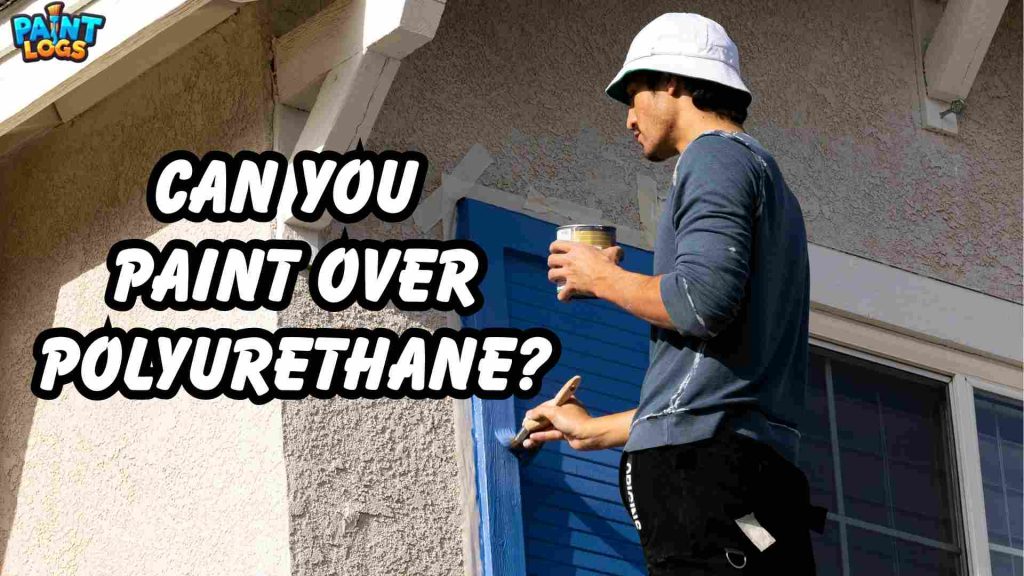
Step-by-Step: How to Paint Over Polyurethane
Painting polyurethane successfully depends on the prep work. Follow these steps carefully to get lasting results.
Step 0: Safety First
Painting over polyurethane involves sanding, chemicals, and fumes. Protect yourself before you start.
- Ventilation: Always work in a well-ventilated space. Open windows and use a fan to circulate fresh air.
- Protective gear: Wear gloves to protect your hands, safety glasses for your eyes, and a dust mask or respirator when sanding.
- Work area: Cover nearby furniture and floors with drop cloths. Polyurethane dust and paint overspray can travel farther than you think.
Taking these precautions keeps you safe and makes painting polyurethane much more comfortable.
Step 1: Prepare Your Piece
Good prep sets you up for success. If you’re painting furniture or cabinets:
- Remove cabinet doors, drawers, and all hardware.
- Lay pieces flat on sawhorses or a protected work surface.
- Label doors and hardware if needed, so you can reinstall easily.
- For built-in trim or doors, mask edges with painter’s tape.
Preparation ensures you don’t fight with hinges, knobs, or awkward angles while applying paint.
Step 2: Clean the Surface
Polyurethane-coated wood attracts oils, grease, and dust over time. If you don’t clean thoroughly, paint won’t bond.
- Mix a cleaning solution of TSP (trisodium phosphate) or a mild degreaser with warm water.
- Scrub the surface using a sponge or rag to lift dirt and oils.
- Rinse with clean water and let the surface dry completely.
Pro tip: If the wood has been waxed or polished, you may need to repeat cleaning twice. A grease-free, dust-free surface is critical for adhesion.
Step 3: Sand or Degloss
Polyurethane is glossy, and gloss prevents paint from sticking. Your goal is to dull that finish.
- Use 220-grit sandpaper to scuff the surface. Sand evenly until the shine disappears.
- Don’t sand all the way to bare wood — just create enough texture for primer to grip.
- For tricky areas:
- Use sanding sponges on curves or carved details.
- Use an orbital sander for large, flat surfaces.
- Apply a liquid deglosser (liquid sandpaper) if you want a faster, dust-free option.
Skipping this step is the number one reason paint peels off polyurethane. Always sand or degloss before moving on.
Step 4: Apply a Bonding Primer
Primer creates a strong bridge between slick polyurethane and your paint. Without it, even sanded surfaces may reject paint.
- Best primers: Oil-based or shellac primers (e.g., Zinsser Cover Stain, BIN Shellac, Kilz Adhesion).
- How to apply: Use a high-quality brush or foam roller to lay down one thin, even coat.
- Drying time: Most primers dry in 1–2 hours, but always check the manufacturer’s directions.
If you’re planning to use a water-based paint as your topcoat, you can still use an oil-based primer underneath — just let it cure fully before painting.
Step 5: Paint the Surface
Now that your primer is dry, you can paint. Choose the paint type based on your project.
- Oil-based enamel paints: Very durable, ideal for high-traffic surfaces like trim and cabinets.
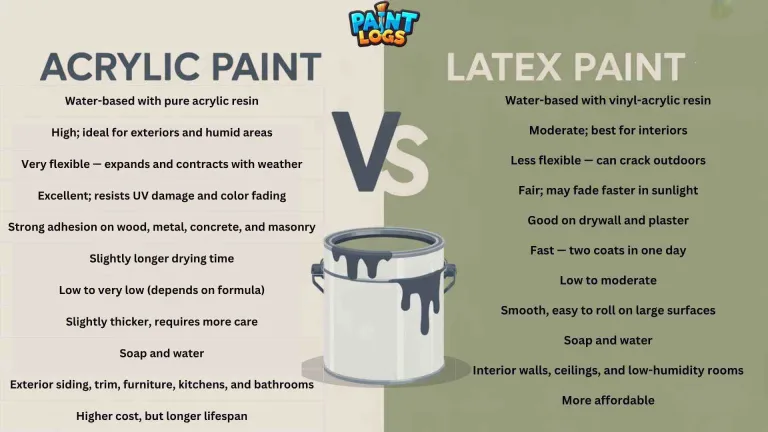
- Acrylic latex paints: Easy to use, low odor, and quick drying. Great for furniture and indoor projects.
- Chalk paint: Works if you sand or prime first. Seal afterward with wax, polycrylic, or water-based polyurethane for durability.
Application tips:
- Use long, even brush strokes or a smooth foam roller.
- Apply at least two thin coats instead of one heavy coat. Thin layers dry faster and resist chipping.
- Allow 4–6 hours of drying time between coats (longer for oil-based paints).
- Let the final coat cure for several days before heavy use. Curing hardens the paint all the way through.
Pro tip: If you’re painting polyurethane-coated wood furniture, wait at least a week before setting heavy items on top. For cabinets, reattach doors only after the paint has hardened enough to resist sticking.
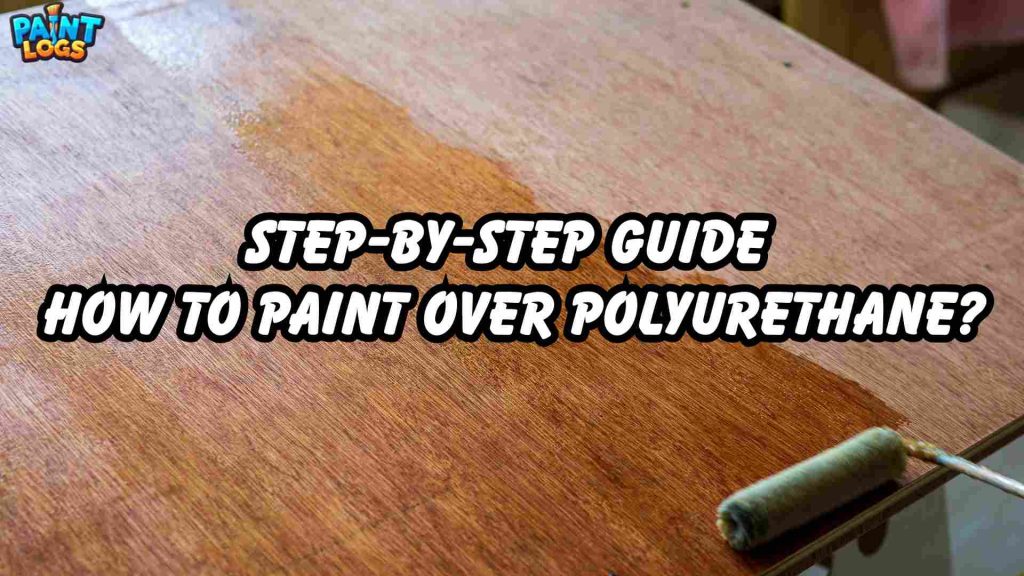
Special Cases and Alternatives
Chalk Paint Over Polyurethane
You can use chalk paint, but prep still matters. Lightly sand or prime first. Then apply chalk paint in thin coats. Once dry, seal it with wax, polycrylic, or water-based polyurethane to prevent scratches.
This is popular for furniture makeovers when you want a matte, vintage look.
Spray Paint Over Polyurethane
Spray paint works too, if you prep first.
- Clean, sand, and prime the polyurethane.
- Use a spray paint that includes primer or says it covers glossy surfaces.
- Apply multiple light coats to avoid drips.
This is ideal for smaller projects like chairs, trim, or decor. Spray paint over polyurethane gives a smooth finish with less brush marking.
Oil vs. Water-Based Polyurethane
Does it matter what type of polyurethane is underneath?
- Oil-based polyurethane is harder and yellows slightly over time.
- Water-based polycrylic is clear and easier to sand.
For you, the prep steps are the same: clean, sand/degloss, prime, then paint. Just know that oil-based polyurethane takes more effort to scuff than water-based.
When Not to Paint Over Polyurethane
Painting polyurethane works for cabinets, trim, and furniture. But some projects aren’t ideal.
- Hardwood floors: Paint chips quickly under foot traffic. Refinishing or staining works better.
- Outdoor decks: Constant exposure to sun and rain makes paint less durable. A solid stain may last longer.
Always think about how the surface will be used before you decide to paint.
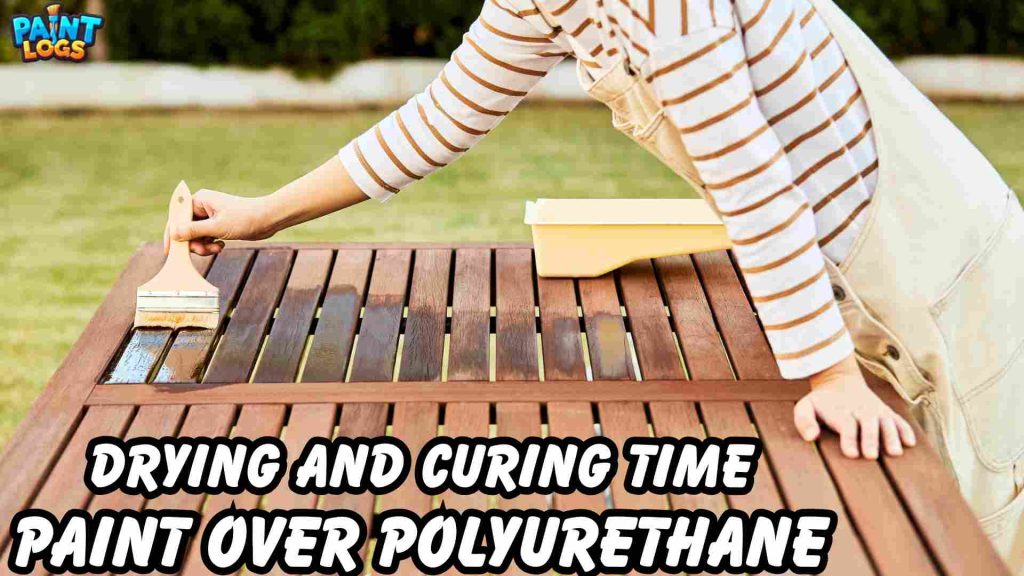
Drying and Curing Times
Timing makes the difference between a flawless paint job and one that peels or scratches. Every product has its own label instructions, but here are general rules to follow when painting over polyurethane:
Primer Dry Time
Most oil-based or shellac bonding primers dry in about 1–2 hours. Some fast-dry primers may be ready in as little as 45 minutes, while others take longer depending on temperature and humidity. Always test with a light fingertip touch — the surface should feel dry and not tacky before painting.
Paint Coat Dry Time
After priming, allow each paint coat to dry for 4–6 hours before recoating. Latex paints dry faster than oil-based paints, which can take 8–12 hours in cooler conditions. If you recoat too early, the paint underneath may wrinkle, lift, or stay soft.
Full Cure Time
Even when the paint feels dry to the touch, it hasn’t fully cured. Curing means the paint has hardened all the way through. For most paints, curing takes 3–7 days before you can put furniture or cabinets back into heavy use. Oil-based paints may need up to 14 days to reach maximum hardness.
Environmental Factors
Heat, humidity, and airflow all affect drying. Warm, dry conditions speed things up; cold or humid conditions slow things down. If your space is damp or chilly, expect longer wait times.
Pro Tip
Always follow the longest recommended time if you’re unsure. Rushing drying or curing is one of the most common reasons freshly painted polyurethane surfaces fail.
Conclusion
So, can you paint over polyurethane? Absolutely — as long as you do the prep.
- Clean the surface.
- Sand or degloss.
- Apply a bonding primer.
- Paint in thin coats.
By following these steps, you’ll get smooth, durable results whether you’re updating polyurethane cabinets, refinishing furniture, or giving old trim a fresh coat. Skip prep, and you’ll face peeling paint. Take your time, and you’ll enjoy a finish that lasts.
FAQs
Can you paint over polyurethane without sanding?
Not recommended. You can use liquid deglosser or special no-sand bonding primers, but a quick scuff-sand gives the most reliable adhesion.
Do you need primer before painting polyurethane?
Yes. A bonding primer is essential. Without it, paint may peel or bleed through.
What kind of paint sticks to polyurethane?
Both oil-based enamels and acrylic latex paints work if you sand and prime. Chalk paint also works with prep.
How long should you let paint dry over polyurethane?
Let primer dry 1–2 hours. Let paint coats dry 4–6 hours. Allow several days of curing before regular use.
Why is my paint peeling off polyurethane?
Peeling means the surface wasn’t prepped. Always clean, sand/degloss, prime, and then paint.
Can you paint over polyurethane varnish or polycrylic?
Yes. The same method applies whether it’s oil-based polyurethane, water-based polycrylic, or traditional varnish.
What’s the best primer for painting polyurethane?
Look for oil-based or shellac primers labeled for glossy surfaces. Popular examples include Zinsser Cover Stain, BIN Shellac, and Kilz Adhesion.
Is chalk paint really no-prep?
Not over polyurethane. Even chalk paint needs sanding or primer on a slick poly finish to avoid scratching or peeling.
What’s easier: painting polyurethane or stripping it?
Painting is faster because you don’t remove all the finish. Stripping to bare wood is only necessary if you want a natural stain instead of paint.

