How to Restore Surfaces After Water or Fire Damage the Right Way
A pipe bursts at 2 am. A grease fire jumps the pan. Whether the damage is wet or charred, most homeowners make the same mistake: they start cleaning before they understand what they’re actually dealing with.
That instinct to scrub, dry, and repaint as fast as possible is understandable. But surface restoration done out of order tends to lock problems in rather than fix them. Here’s how to do it right.
Stop the Damage From Getting Worse First
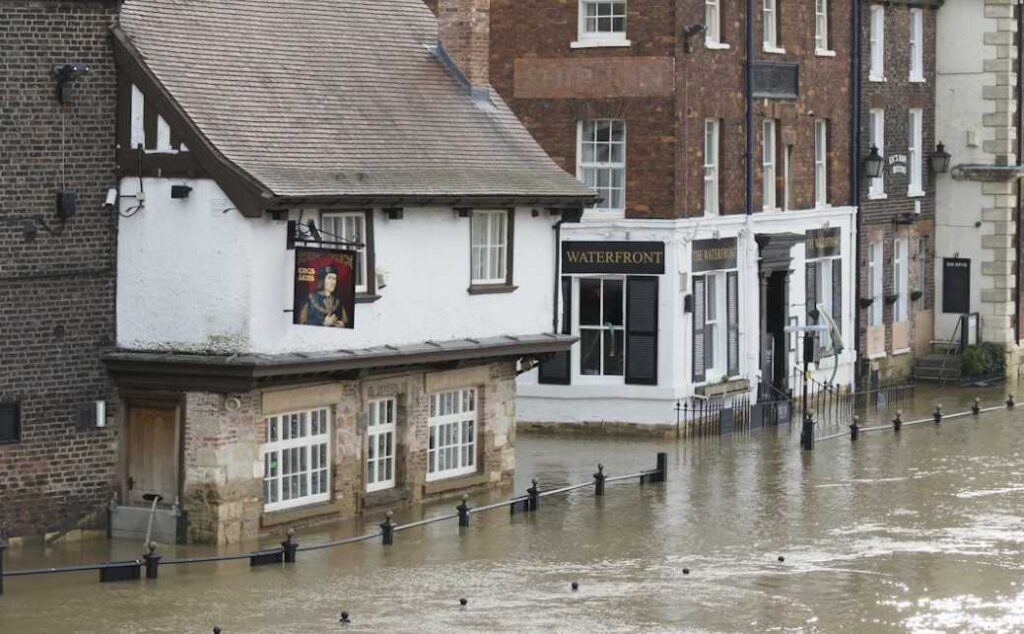
Before anything touches a mop or a brush, you have to stop the source. Restoration crews call this mitigation, and it happens before cleanup, not during.
For water damage, that means shutting off the supply line if a pipe failed, or tarping a roof if rain comes in. For fire damage, it means boarding up windows and openings so the weather doesn’t compound the problem.
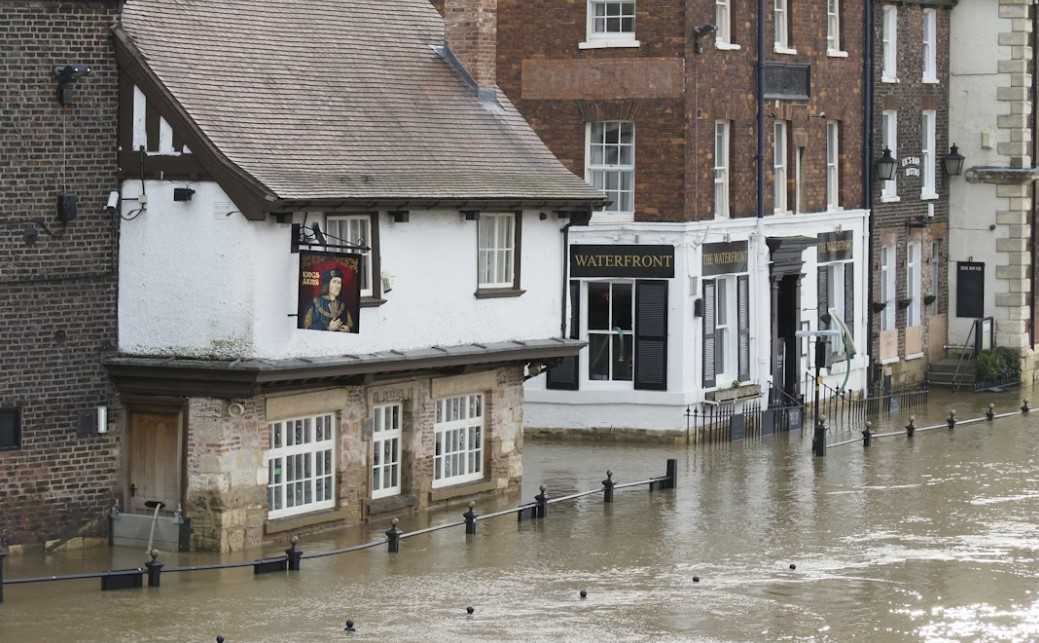
This is especially true in flood-prone areas – anyone who’s ever looked into water damage restoration Houston services knows that crews treat the first 24 to 48 hours as a race against mold, not just a cleanup window.
A good rule: if the source isn’t stopped, nothing you do to the surface matters. Water will wick back. Soot will keep settling.
Assess What You’re Actually Looking At
Water-soaked drywall absorbs moisture deep into the paper and gypsum core. If it dries slowly or unevenly, mold can establish in 24 to 72 hours. The wall may look fine once dry, but the paper backing is already compromised.
Fire-damaged surfaces deal with three distinct problems that often get conflated: char, soot, and smoke odor. Char is structural – burned wood or drywall has lost integrity and has to be removed.
Soot is a surface issue but a stubborn one; it’s oily and acidic, and ordinary cleaning products often smear it further into porous materials. Smoke odor is the hardest of the three, because the particles have penetrated into materials that look completely undamaged.
You can repaint a wall twice and still smell smoke six months later if the odor wasn’t neutralized before the paint went on.
Water Damage: Dry Completely Before You Repair Anything
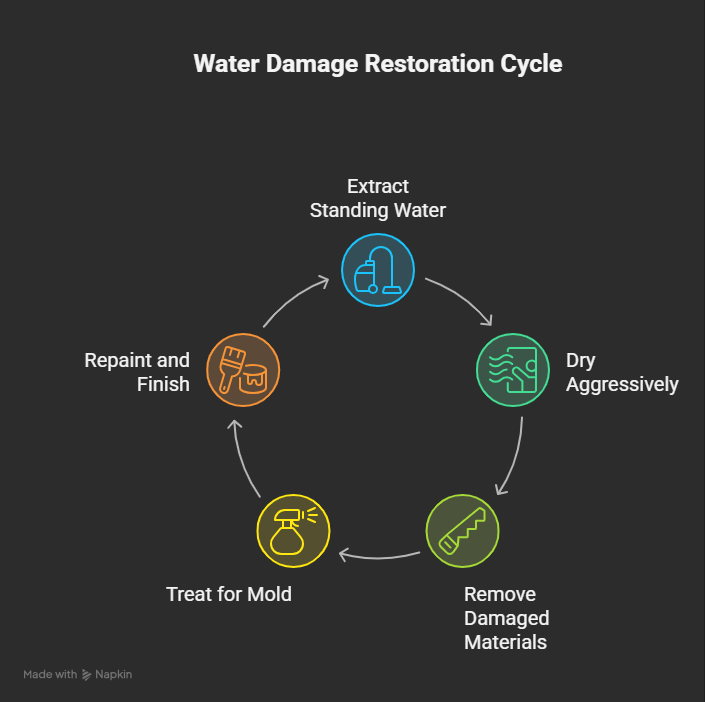
The mistake most people make is treating water damage like a race to get the house looking normal again. Cosmetic repairs done over wet or damp materials fail – paint peels, tape bubbles, and mold grows behind fresh drywall.
The actual sequence:
- Extract standing water first. Wet vacuums, pumps, and towels for smaller jobs. Any standing water that sits longer than a few hours is absorbing into the flooring, subfloor, and wall cavities.
- Dry aggressively. Industrial air movers and dehumidifiers work faster than open windows. Target moisture levels in walls and floors with a moisture meter – not by touch, and not by how the surface looks. Wood subfloor should read below 15% moisture content before anything goes on top of it. Drywall that reads over 1% is still at risk.
- Remove what can’t be saved. Saturated insulation holds moisture against the studs. Carpet padding almost never dries cleanly. Drywall that was submerged for more than 24 hours is usually cheaper and safer to replace than to try to rehabilitate.
- Treat for mold before closing up. Once materials are confirmed dry, apply an antimicrobial treatment to exposed framing before hanging new drywall. Skipping this step is how mold returns six months after a repair job that looked fine.
- Repaint and finish last. Use a stain-blocking primer first on any surfaces that had water contact. Water leaves mineral deposits that bleed through standard paint.
One practical note: if you’re handling the storm damage restoration process after a major weather event, the volume of damage across an area can delay professional equipment rentals. Get on waitlists early.
When to Call a Professional
There’s a version of this work that’s genuinely DIY-able: a small water leak caught within hours, a contained kitchen fire with soot only on nearby surfaces. But a few situations require professional equipment and expertise that can’t be improvised.
Call a restoration company if any of these apply:
- Water sat for more than 24 hours before extraction started
- The affected area is larger than about 10 square feet, and mold is a concern
- You’re smelling musty or smoky odors days after the visible damage was addressed
- Structural materials – studs, joists, beams – were burned or saturated
- The water source was a toilet, sewer backup, or floodwater (Category 2 or 3), which carries contaminants that require specialized handling
One Thing Most Guides Skip
Restoration is not the same as renovation. Restoration means returning a material to its pre-loss condition, which sometimes means keeping the worn floors and aging drywall that was there before – not upgrading. Insurance adjusters will document what was there before, and the claim is based on like-for-like replacement, not improvement.
If you want to upgrade while you’re at it, that’s fine – but keep those costs separate from the restoration claim. Mixing them up creates disputes that delay payment.
Document everything with photos before you touch anything, during demolition, and after drying but before repairs begin. Those photos protect you if the claim is disputed later.