
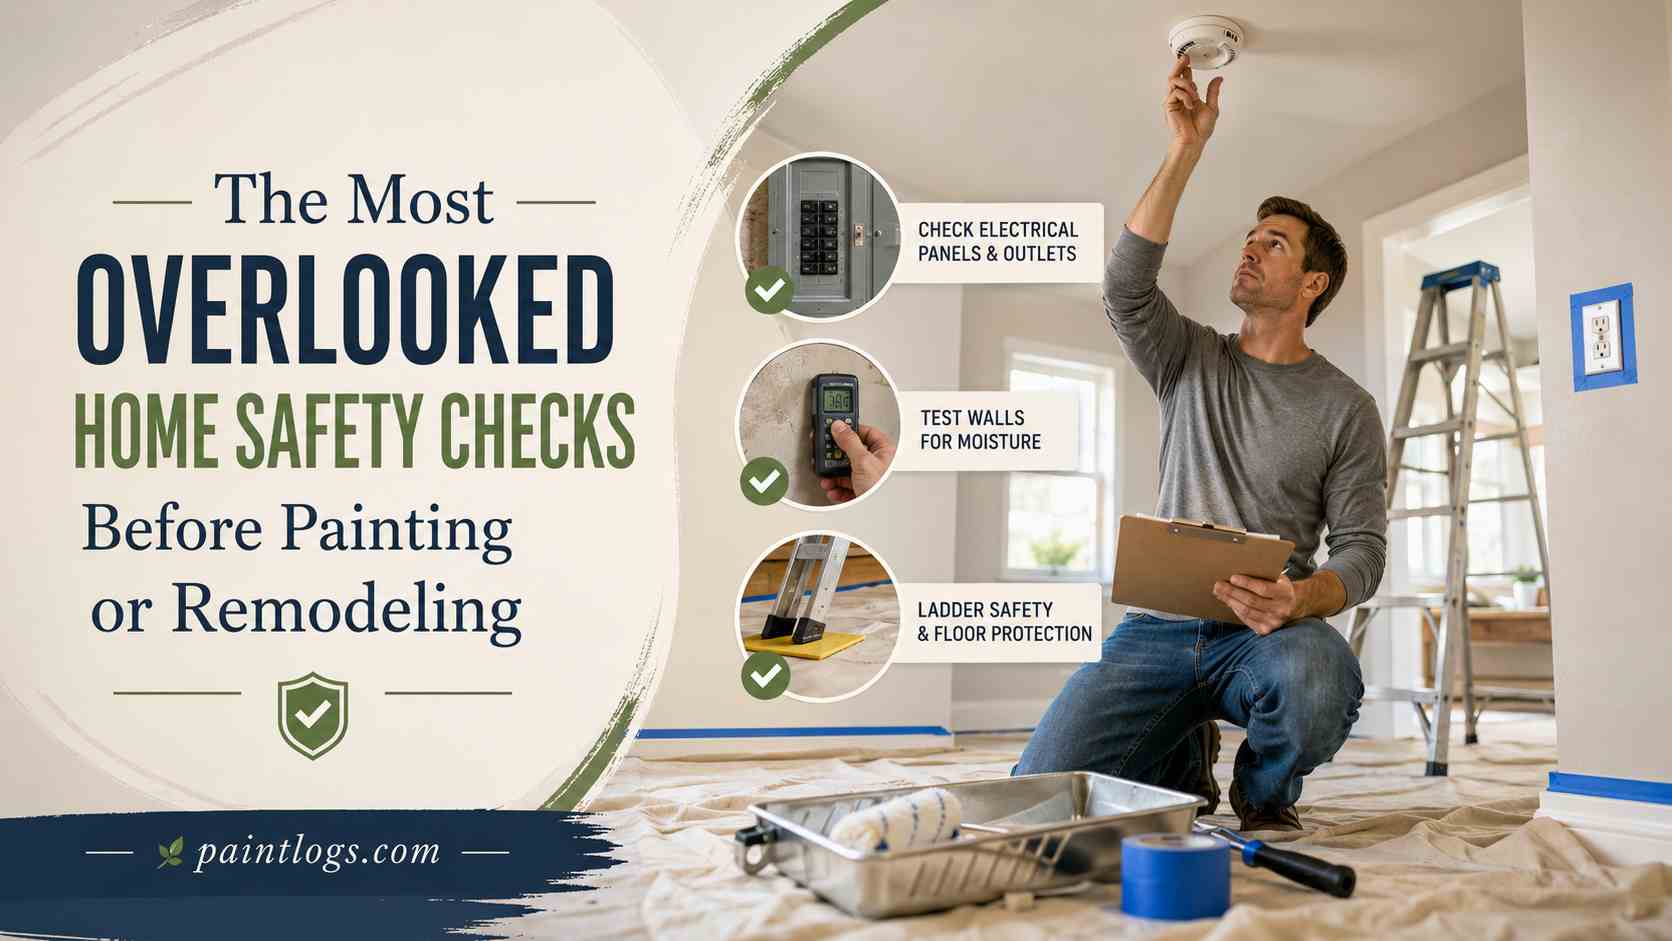
The Most Overlooked Home Safety Checks Before Painting or Remodeling
Most people plan a remodel around colors, materials, and budget. Few people think about the safety devices already mounted on their walls and ceilings. That’s a mistake, because sanding, painting, and dust are exactly the conditions that confuse or disable home safety equipment. Before a single drop cloth goes down, it pays to walk through your space and note what needs attention.
A smoke detector is one of the easiest things to overlook during this process. It sits quietly in the corner of a room until the moment it’s needed, and renovation work is one of the few times it gets tested by accident.
Dust clouds from drywall work or fumes from fresh paint can set it off, or worse, someone covers it with plastic and forgets to uncover it later. Quick home safety checks before the project starts prevents both problems.
Check Your Smoke Detector First
Before you move furniture or open a single paint can, test every smoke detector in the work zone. Press the test button and confirm the alarm sounds clearly. If a unit is silent, chirping, or older than ten years, replace it before starting any project that involves dust or fumes. This single step catches most safety gaps early, when they’re simple to fix.
Pay attention to how the detector is powered too. Battery only units can fail quietly if the battery gets old or removed, while hardwired units with battery backup tend to hold up better during long projects.
Check the manufacture date printed on the back of the unit, since most detectors are only rated to last about ten years. If yours is unmarked or unreadable, treat that as a sign it’s time for a replacement.
Common Renovation Mistakes That Trip Up Smoke Detectors
Sanding drywall or wood floors creates fine dust that drifts through a room for hours after the work stops. That dust settles inside the sensing chamber of a smoke detector and can trigger false alarms or, over time, block the sensor from working at all. Painting brings a similar risk, since fumes from primers, stains, and sealants can be strong enough to set off a sensitive alarm in a closed room.
Some people solve this by covering the smoke detector with a bag or plastic sheeting during work, then simply forget to remove it once the job is done. That’s how homes end up with a smoke detector that looks fine but can’t actually detect anything. If you use a cover, write yourself a reminder or tape a note near the light switch so it doesn’t get left in place.
Where Placement Really Matters
Remodeling often shifts walls, ceilings, and furniture layouts, which changes how well a smoke detector can do its job. It should sit away from windows, exterior doors, and air vents where drafts can pull smoke away before it reaches the sensor. Kitchens need extra thought too, since a detector placed too close to a stove will trigger constantly from normal cooking.
If your remodel adds a new bedroom, converts a garage, or extends the layout, that space needs its own detector. Codes in most areas call for one inside each bedroom, one outside sleeping areas, and one on every level of the home. A remodel is the ideal time to add or reposition units, since walls and ceilings are already open.
Best Practices for a Smooth Renovation Season
A few habits make the difference between a stress free project and a house full of false alarms. Keep the work area ventilated with a window fan pulling air outward, since that alone reduces how much dust and fume buildup reaches the ceiling.
Never pull the battery out of a smoke detector and leave it that way once the project wraps up, since forgetting to replace it is one of the more common causes of unprotected homes.
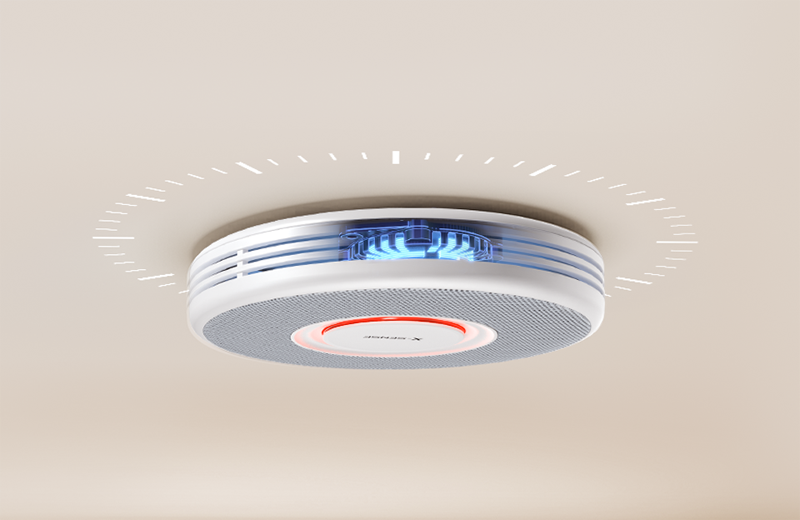
If your current setup feels outdated or unreliable, this is a good moment to consider an upgrade. The X-SENSE XS0B-MR smart smoke detector is built with wireless interconnection, so every unit in the home communicates and sounds together if one senses smoke. That kind of coverage matters most during a renovation, when dust and debris are more likely to affect a single unit and you need the rest of the house to still be protected.
This detector also speaks up in a way that’s genuinely useful mid project. Instead of a generic siren, it announces the room where smoke was detected, so you know right away if it’s the kitchen backsplash job or a bedroom you just finished painting.
That saves time walking the house room by room trying to find the source, especially when several rooms are under construction at once. A night mode setting also cuts down on unnecessary chirps during late work sessions without turning off protection.
Combination Alarms Worth Considering
Many homeowners use a remodel as the moment to swap old single purpose alarms for combination units that also watch for carbon monoxide. A combination smoke and carbon monoxide alarm covers two risks with one device, which simplifies both installation and long term maintenance. This matters especially if your project involves new gas appliances, a fireplace, or an attached garage, since those all raise the chance of carbon monoxide exposure.
A smoke detector that pairs smoke sensing with carbon monoxide detection also cuts down on wall clutter, which fits naturally into a freshly painted or remodeled room. Look for a unit with a sealed long life battery so you’re not swapping batteries every few months during a busy renovation. Fewer devices to manage means fewer things to forget once the paint dries and the furniture goes back.
A Simple Pre-Project Safety Routine
Before your crew or your own tools show up, walk the house room by room and note every existing smoke detector location. Test each one, check the age, and decide which units need replacing versus which ones just need a temporary cover during dusty work. Write this down so nothing gets missed once the project is underway and rooms start filling with tools and materials.
Once the work wraps up, repeat the same walk through in reverse. Remove any covers, wipe down the units to clear dust, and test each one again before calling the project finished. This closing check takes only a few minutes but confirms your home is fully protected again, not just freshly painted.
Final Thoughts
A remodel changes how a house looks, but it shouldn’t change how well it protects the people inside it. Treating your smoke detector as part of the project home safety checks, right alongside paint colors and flooring choices, closes a gap that many homeowners never think to check. It takes very little time and prevents a much bigger problem later.
Frequently Asked Questions
Should I remove my smoke detector while painting?
You don’t need to remove it. Cover it temporarily with a plastic bag or a purpose made dust cover, then remove the cover and test the unit once painting is finished.
Can paint fumes damage a smoke detector?
Strong fumes from primers, oil based paints, and sealants can trigger false alarms in sensitive units, though they typically don’t cause permanent damage if the room is ventilated during the work.
How often should a smoke detector be replaced?
Most units should be replaced every ten years, or sooner if they’re chirping, failing tests, or don’t have a readable manufacture date.
Is it safe to paint over a smoke detector?
No. Painting directly over a smoke detector can block its sensor and is discouraged by manufacturers and most local fire codes.
What makes a smart smoke detector better for renovations?
A smart smoke detector with wireless interconnection keeps every unit in the home linked, so even if dust affects one sensor during a project, the rest of the house stays alerted and protected.