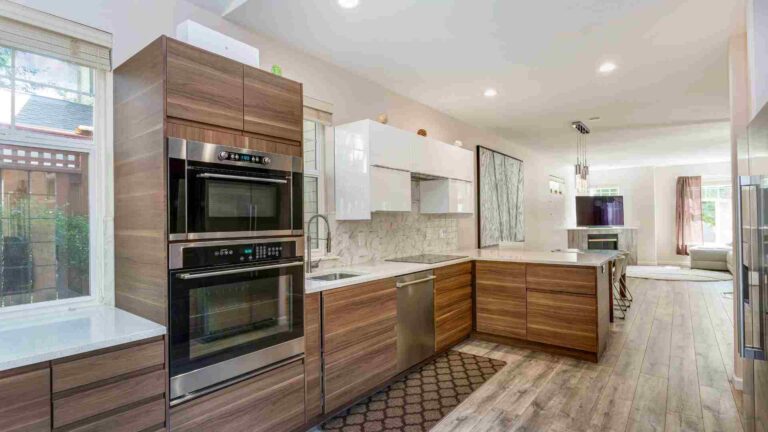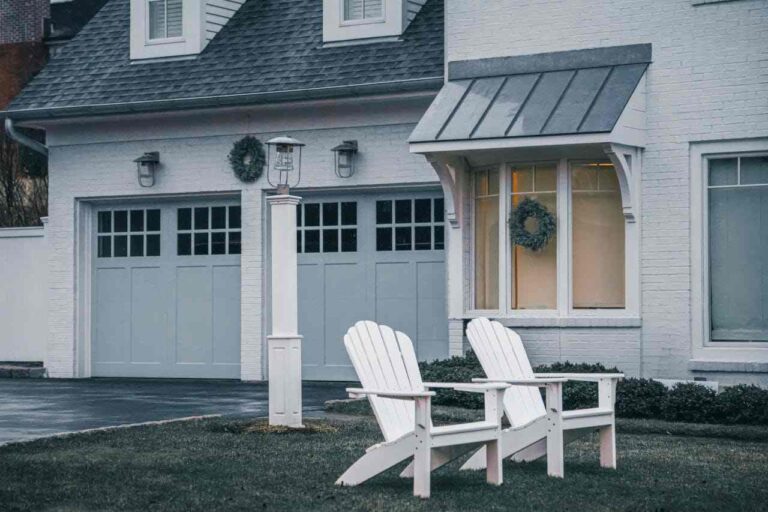

Stylish Home Upgrades That Make a Big Difference
A strong upgrade does not need a full renovation. It needs a clear target. Small changes in the right places can shift how a room looks and works. Here are the ones worth your budget, in a sensible order.
Start With a Professional Deep Clean
Every upgrade looks better on a clean surface. Fresh paint over dusty trim still looks tired. Grime also shows up under new lighting. A professional cleaning service resets the home before work begins. Crews often use HEPA vacuums, which capture fine dust instead of recirculating it. A deep clean also shows the true condition of walls, floors, and fixtures. That helps you decide what needs repair and what only needed a wipe.
Dust left on vents and fixtures spreads once you start sanding or drilling. Ask for a scope that goes beyond surface wiping. Schedule recurring visits too. Regular service protects new finishes from wear. A solid deep clean should cover:
- Baseboards, door frames, and window tracks
- Grout lines, tile, and shower glass
- Vent covers, ceiling fans, and light fixtures
- Inside cabinets, ovens, and appliances
Fix the Lighting Early
Lighting changes mood faster than most stylish home upgrades. Use three layers. Ambient light covers the room. Task light supports counters and desks. Accent light adds depth to walls and shelves. Most living spaces need all three.
Pick color temperature with care. Use 2700K for bedrooms and living rooms. Use 3000K for kitchens and baths. Use 4000K for offices and garages. Aim for a CRI of 90 or higher where color matters. Check that bulbs are dimmable before you pair them with a dimmer. Standard LEDs can flicker or hum.
Refresh Walls With the Right Paint
Paint is the cheapest big change. Prep decides the result. Sand, patch, and prime before you open the color. Skip this and the finish will show every flaw. Check the light reflectance value, or LRV, on the chip. A higher LRV bounces more light into dim rooms.
Pick sheen by room. Flat hides flaws in low traffic areas. Eggshell suits living rooms and bedrooms. Satin or semi-gloss handles kitchens, baths, and trim. Test samples on two walls. Check them in morning and evening light. Color shifts with the sun.
Add a Focal Point With Neon
Every room needs one thing that draws the eye. Custom made neon signs do this well. They add color, glow, and personality in one piece. They suit a den, home bar, nursery, or creative space. Pick a warm tone for living areas and a cooler tone for workspaces. LED neon flex also uses little power and runs cool to the touch.
Neon looks best when you plan power and placement first. Keep it off the wall behind a TV, since the glow competes with the screen. Test it in a dim room before you mount it. Check these points before you buy:
- Transformer rating and cord length
- Outlet location and cable routing
- Distance from moisture and heat
- Stand placement or a stud-mounted bracket for the wall
Swap Hardware and Fixtures
Hardware is small but visible. Cabinet pulls, handles, and faucets get touched daily. Swapping them takes an afternoon. Keep finishes consistent. Matte black, brushed brass, and brushed nickel all work. Limit the mix to two finishes. Buy all pieces from one batch to avoid slight mismatch.
Measure the center to center spacing of existing cabinet holes before you order pulls. This avoids drilling new holes. Replace outlet covers and switch plates too. Yellowed plastic ages a room fast.
Check Energy Performance
Style and efficiency work together. Lighting makes up about 15% of an average home’s electricity use. The U.S. Department of Energy reports that LEDs use up to 90% less energy and last up to 25 times longer than incandescent bulbs. Look for ENERGY STAR labels when you shop. Timers and smart plugs cut use further.
Seal windows and doors with fresh caulk and weatherstripping. Drafts make a styled room feel cold. Use silicone caulk outdoors and paintable acrylic latex caulk indoors.
Layer Texture and Finish the Job
Texture adds warmth that paint cannot. Size rugs so the front legs of every seat rest on them. An 8 by 10 foot rug suits many living rooms. Hang curtain rods 4 to 6 inches above the window frame. Extend them past the sides. This makes windows look larger.
Sequence the work. Clean, repair, paint, then install fixtures. Add furniture and décor last. Book a final clean once the dust settles, then place your sign and finishing pieces.
Set a budget with a 10% buffer. Hidden wiring or moisture issues can appear once walls open. Pick a few stylish home upgrades and finish them well.