Beyond the Brush: Pro Techniques for Flawless Cabinet Refinishing
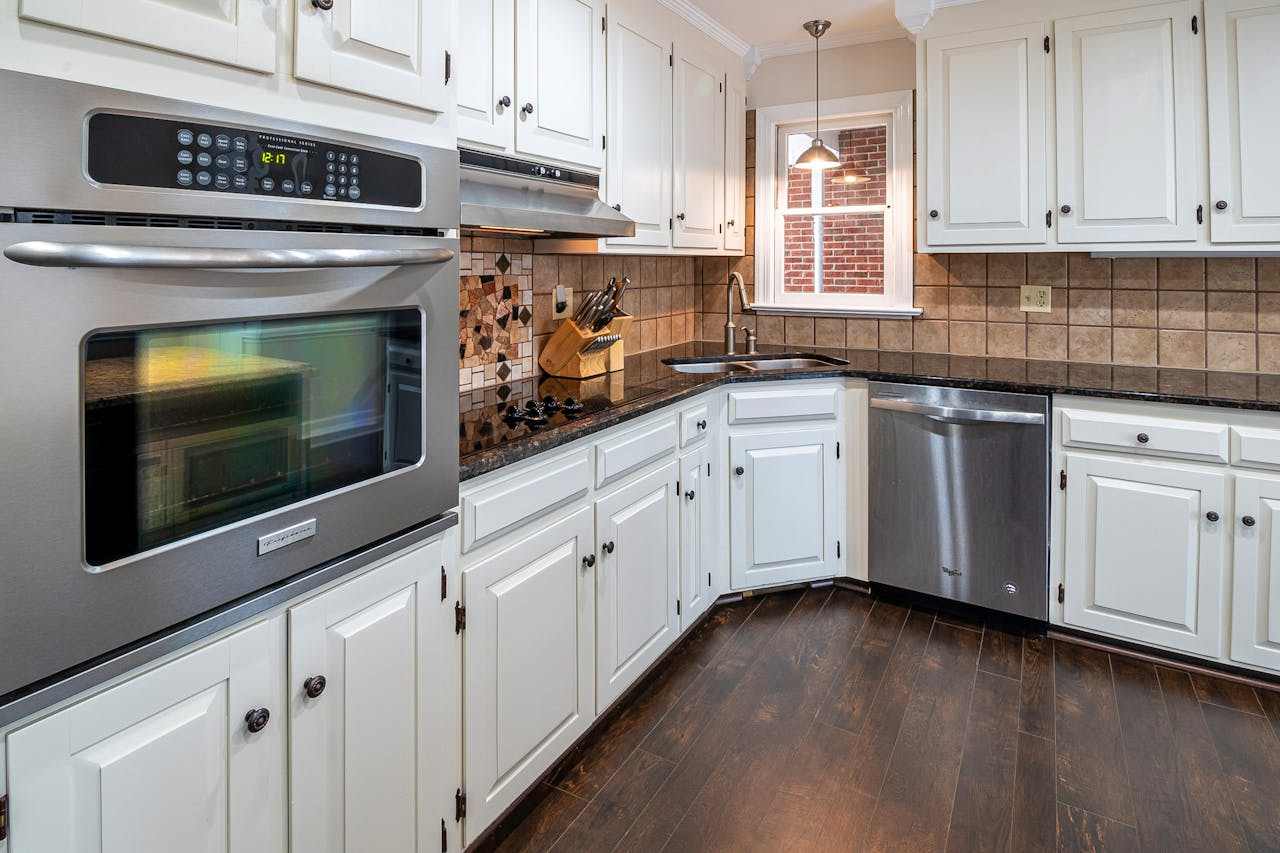
Cabinet refinishing transforms a kitchen without a full renovation. Updating the color breathes new life into the room and saves significant money.
Homeowners often wonder if they can tackle this project alone. A successful transformation requires patience, steady hands, and attention to detail.
Planning Your Workspace
Clear the kitchen of all extra clutter. You need a dedicated spot for painting. Having enough room to work comfortably also reduces the chance of accidental damage.
Most homeowners underestimate how much prep work happens before the first coat of paint. You might be tempted to call a skilled painter, such as one from PaintZone, if the workload feels excessive, but you can manage it with a systematic approach. Do not rush the cleaning stage, or your paint will struggle to stick. Taking your time during preparation pays off in the quality of the final result.
Create a clean and well-lit environment. Good lighting helps you spot missed spots or drips. A properly organized workspace makes every stage of the project easier to manage.
Preparing The Surface
Start by clearing the space and removing all items from your cabinets. Cleaning cabinets with a specialized degreaser proves critical since trace amounts of kitchen grease cause paint to fish-eye or bubble. This simple step helps create the ideal surface for refinishing.
Preparation is the foundation of any cabinet project. Scrubbing the wood removes hidden layers of grime that accumulate over years of cooking. The cleaner the surface, the better the paint will perform over time.
Wipe the cabinets with clean water after degreasing. Any leftover cleaning solution will prevent the new paint from bonding properly. A thorough rinse ensures nothing interferes with adhesion.
Sanding Fundamentals
Once the grease is gone, sanding creates the texture necessary for paint to bond. A piece from a home improvement site noted the key to a flawless finish lies in the preparation, specifically sanding and cleaning, which accounts for the majority of the project time.
You do not need industrial machinery for this task. Hand sanding or using a small block works well for most cabinet styles.
Wipe away all dust after sanding is complete. Paint will not adhere correctly to a dusty or dirty surface.
Managing Your Hardware
Hardware often gets overlooked until the end of the project. Removing hardware and numbering the doors simplifies reinstallation and prevents confusion after the painting process is complete. A little organization now saves time later.
Place all hinges and screws in labeled bags or containers. This system keeps small parts organized and ready for the final assembly phase. Keeping components sorted prevents unnecessary frustration during reassembly.
Dealing with hardware correctly prevents scratches on your new finish. Treat each hinge with care to keep the doors hanging straight. Proper handling protects both the hardware and the cabinets themselves.
The Importance Of Primer
Many people skip priming, but this creates a massive risk for peeling later on. A home improvement publication states that using a high-quality primer is non-negotiable for making sure paint adhesion on laminate or wood cabinets. Primer lays the groundwork for a durable finish.
Primer creates a smooth base for your topcoat. It blocks stains or tannins from bleeding through lighter paint colors. This extra layer improves both appearance and longevity.
Apply the primer evenly to avoid drips or buildup. Let the primer dry completely according to the manufacturer’s instructions. Patience during drying helps prevent future imperfections.
Advanced Painting Methods
When you reach the painting phase, your choice of tool impacts the final look. Spraying provides a smooth, factory-like appearance that brushes struggle to match, particularly on intricate cabinet details.
If spraying is not feasible, consider these tools:
- High-density foam rollers minimize brush strokes on flat surfaces.
- Small synthetic brushes help with corners and edges.
Use thin coats rather than one thick layer to avoid runs. Light layers produce a more durable and even finish. Building coverage gradually delivers the best visual results.
Paint Sheen And Curing
Selecting the right paint sheen, such as semi-gloss or satin, helps improve durability and makes cleaning significantly easier over the years. Professional contractors recommend allowing at least 24 hours of drying time between coats to prevent peeling or tackiness.
Consider these factors during the drying process:
- Maintain consistent humidity levels in the workspace.
- Make sure proper ventilation is present to help the curing process.
Curing takes longer than drying to the touch. Avoid putting heavy items back into the cabinets for several days.
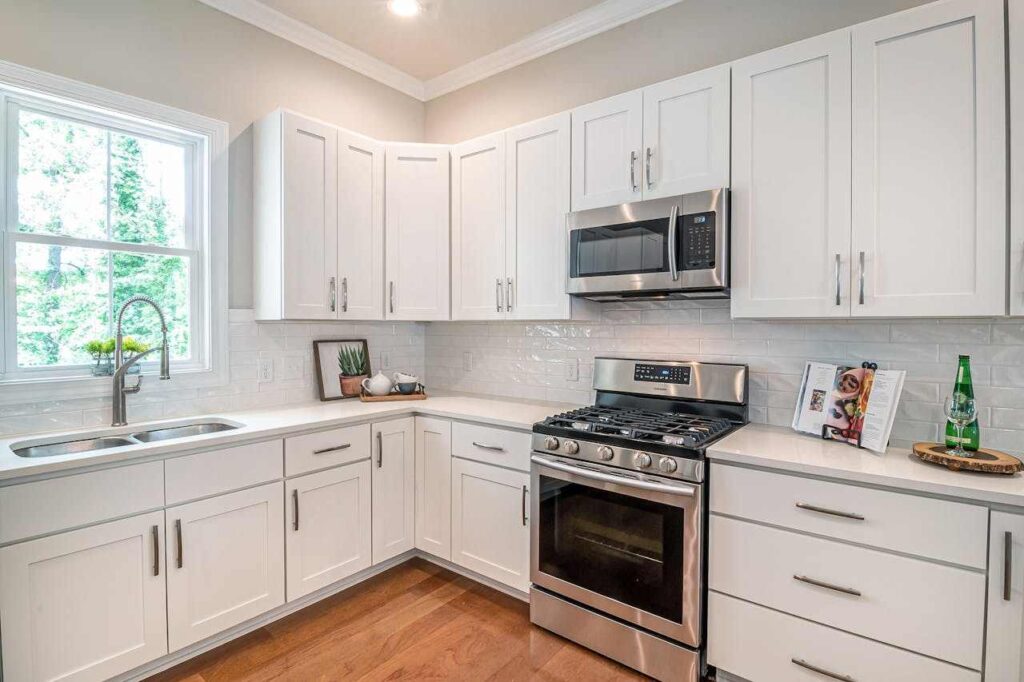
Your kitchen cabinets represent a significant investment in your home. By following these techniques, you achieve results that rival professional work.
Enjoy the updated look of your kitchen space. With careful maintenance, your new paint job will look great for years.